Welcome to the Vivitar Bluetooth Speaker manual! This guide provides essential information to help you understand and use your speaker effectively. Discover safety tips, setup instructions, and troubleshooting solutions to enhance your audio experience.
1.1 Overview of the Speaker and Its Features
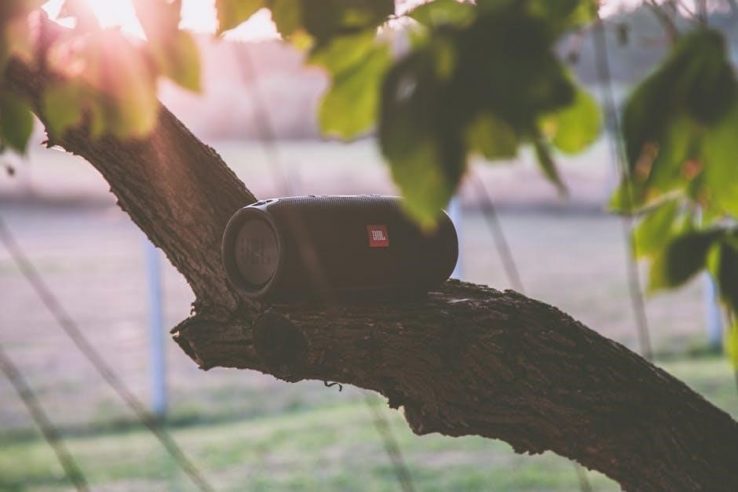
The Vivitar Bluetooth Speaker offers wireless connectivity, a rechargeable battery, and high-quality sound. Designed for portability, it features a sleek design, easy-to-use controls, and compatibility with most Bluetooth-enabled devices. With a range of up to 33 feet, it’s perfect for indoor or outdoor use, ensuring an enjoyable audio experience anywhere.
1.2 Importance of Reading the Manual
Reading the manual ensures safe and optimal use of your Vivitar Bluetooth Speaker. It provides essential safety precautions, setup instructions, and troubleshooting tips. Understanding the features and proper usage helps prevent damage, extends battery life, and enhances your overall listening experience. Take time to review the guide for a seamless and enjoyable experience.
Key Features of the Vivitar Bluetooth Speaker
The Vivitar Bluetooth Speaker offers wireless connectivity, extended battery life, and high-quality sound performance. It features a sleek design, easy controls, and compatibility with various devices for seamless audio streaming.
2.1 Wireless Connectivity Options
The Vivitar Bluetooth Speaker supports Bluetooth technology for wireless audio streaming. With a range of up to 33 feet, it connects seamlessly to smartphones, tablets, and other devices. The speaker also features easy pairing and stable connections, ensuring uninterrupted music playback at parties or outdoor events. This makes it ideal for versatile wireless audio experiences anywhere.
2.2 Battery Life and Charging Indicators
The Vivitar Bluetooth Speaker offers reliable battery life, providing up to 10 hours of continuous playback. The charging indicators include a red light that illuminates during charging and turns off once fully charged, typically within 2-3 hours. This ensures you’re always aware of the battery status and ready to enjoy uninterrupted music.
2.3 Sound Quality and Audio Specifications
The Vivitar Bluetooth Speaker delivers high-quality sound with deep bass and clear treble, ensuring an immersive audio experience. It supports Bluetooth 5.0 technology, offering a stable connection up to 33 feet. The speaker’s audio specifications include a powerful driver system, providing rich and balanced sound across various music genres, making it ideal for both indoor and outdoor use.
Safety Precautions for Using the Vivitar Speaker
Always follow safety guidelines when using your Vivitar speaker. Read all instructions before use, avoid exposure to water, and keep it out of reach of children. Ensure the speaker is fully charged and disconnected from power sources when not in use to prevent accidents.
3.1 General Safety Guidelines
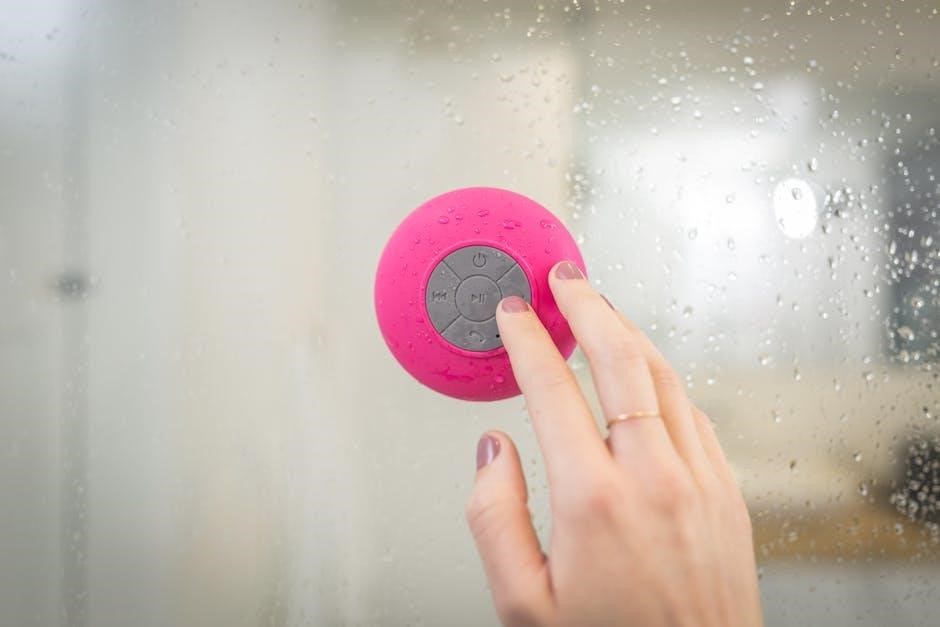
Ensure the Vivitar speaker is used in a well-ventilated area, avoiding exposure to moisture or extreme temperatures. Keep it out of reach of children and pets. Avoid dropping the device and never insert objects into speaker openings. Follow all instructions carefully to maintain optimal performance and safety. Proper handling ensures longevity and reliable operation.
3.2 Battery Safety Instructions
Use only the original charger and adapter provided. Avoid overcharging, as this may damage the battery; When the red indicator light turns off, the speaker is fully charged. Keep the device away from extreme temperatures. Do not disassemble or modify the battery. Replace the battery only with a compatible, genuine Vivitar replacement.
3.4 Avoiding Damage to the Speaker
Avoid exposing the speaker to water, moisture, or extreme temperatures. Keep it away from direct sunlight and physical stress. Use only the original charger and cables. Clean the speaker with a soft, dry cloth. Avoid dropping or applying heavy pressure. Store in a protective case when not in use to prevent scratches or damage.
Setting Up the Vivitar Bluetooth Speaker
Welcome to the setup section! This guide will walk you through unboxing, charging, and pairing your speaker for seamless audio enjoyment; Follow the steps carefully for optimal performance.
4.1 Unboxing and Initial Inspection
Start by carefully unboxing your Vivitar speaker. Inspect for any visible damage. Ensure all accessories, like the charging cable, are included. Familiarize yourself with the speaker’s buttons and ports. Check the battery level using the indicator light. If damaged, contact support immediately for assistance or replacement.
4.2 Charging the Speaker for the First Time
Connect the Micro USB cable to the speaker’s charging port and plug the other end into a power source. The red indicator light will illuminate during charging. Allow the speaker to charge for 3-4 hours until the light turns off, indicating a full charge. Avoid overcharging to maintain battery health.
4.3 Pairing the Speaker with a Bluetooth Device
Enable Bluetooth on your device, search for available devices, and select the Vivitar speaker. Confirm the connection. Once paired, the speaker is ready to use. If pairing fails, restart both devices and retry. Ensure the speaker is in pairing mode for a successful connection.
Operating the Vivitar Bluetooth Speaker
Use the control buttons to play, pause, and adjust volume. Connect via Bluetooth for wireless audio streaming. Ensure proper pairing for seamless functionality and optimal sound quality.
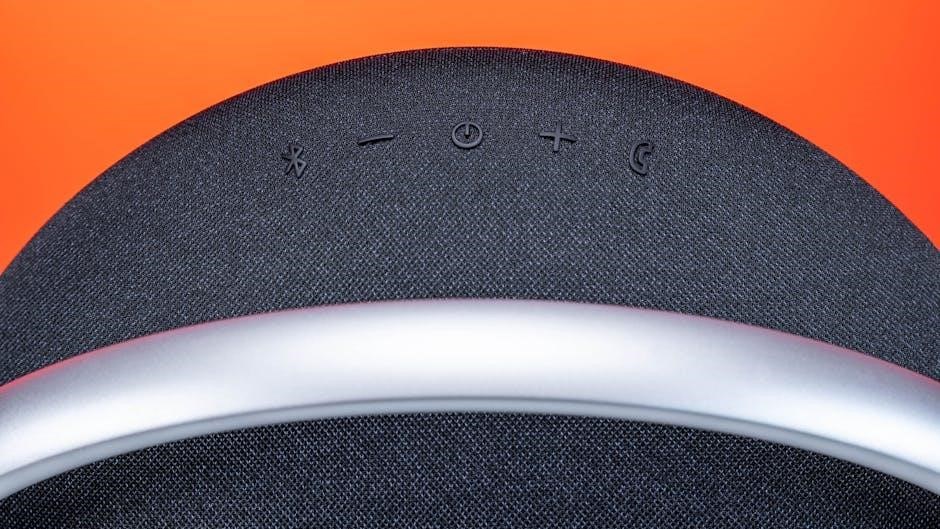
5.1 Understanding the Control Buttons
The control buttons are essential for managing your speaker’s operations. Use the play/pause button to control music playback. Adjust volume with the volume up/down buttons. The Bluetooth button helps pair devices. LED indicators provide feedback on pairing and charging status. Familiarize yourself with these controls for seamless functionality and enhanced user experience.
5.2 Adjusting Volume and Playback Controls
Adjust the volume using the designated volume up/down buttons. Press once to change levels or hold for continuous adjustment. Use the play/pause button to control music playback. Skip tracks with the next/previous buttons. These controls ensure easy management of your audio experience, allowing you to customize sound levels and navigate through your playlist seamlessly.
5.3 Connecting to Multiple Devices
To connect multiple devices, enable Bluetooth on each device and select the speaker’s name. The speaker can pair with up to two devices simultaneously. Use the control buttons to switch between connected devices. The LED indicator will flash during pairing, ensuring a seamless connection process for all paired devices.
Troubleshooting Common Issues
This section addresses common issues like Bluetooth pairing problems, battery charging issues, and sound quality problems. Follow the troubleshooting steps to resolve these issues and ensure optimal performance.
6.1 Bluetooth Pairing Problems
If your Vivitar Bluetooth Speaker isn’t pairing, ensure Bluetooth is enabled on your device. Restart both devices and check if the speaker appears in the available devices list. If it doesn’t, reset the speaker by holding the power button for 10 seconds. Ensure the speaker is in range and fully charged.
- Disable and re-enable Bluetooth on your device.
- Clear previous pairings from the speaker.
- Check for device compatibility.
6.2 Battery Charging Issues
If your Vivitar Bluetooth Speaker isn’t charging, ensure the charging port is clean and free from debris. Use only the provided USB cable and adapter. Verify the outlet is functioning properly. If issues persist, reset the speaker by holding the power button for 10 seconds. Avoid using third-party chargers to prevent damage.
6.3 Sound Quality Problems
If you experience distorted or low-quality sound, check the volume levels on both the speaker and your connected device. Ensure Bluetooth pairing is stable and restart the speaker if necessary. Clean the speaker grilles to remove debris. For persistent issues, perform a factory reset by pressing and holding the power button for 15 seconds.
Maintenance and Care Tips
Regularly clean the speaker grilles with a soft cloth and avoid exposure to moisture. Update firmware for optimal performance and store the speaker in a dry, cool place when not in use to preserve battery health and sound quality.
7.1 Cleaning the Speaker
To maintain your Vivitar Bluetooth Speaker, use a soft, dry cloth to wipe the exterior and grille. For stubborn stains, slightly dampen the cloth but avoid moisture exposure. Never use harsh chemicals or liquids, as they may damage the speaker’s finish or internal components. Regular cleaning ensures optimal sound quality and longevity.
7.2 Updating Firmware
To update your Vivitar Bluetooth Speaker’s firmware, ensure it’s fully charged and paired with your device. Use the Vivitar app or visit their official website for the latest firmware version. Download and install the update carefully, avoiding interruptions. Once complete, restart the speaker to apply the new firmware, ensuring optimal performance and functionality.
7.3 Storing the Speaker
Store your Vivitar Bluetooth Speaker in a cool, dry place to prevent damage. Ensure the battery is charged to at least 50% before storage to maintain its health. Avoid extreme temperatures or humidity. Use the original packaging if possible to protect the speaker from dust and physical damage during storage.
Technical Specifications
The Vivitar Bluetooth Speaker features Bluetooth 5.0 with a range of up to 33 feet. It includes a rechargeable lithium-ion battery with a capacity of 4000mAh, offering up to 20 hours of playtime. Dimensions are 12x8x6 inches, making it portable and easy to carry.
8.1 Bluetooth Version and Range
The Vivitar Bluetooth Speaker operates on Bluetooth 5.0 technology, ensuring stable and efficient wireless connections. It offers a wireless range of up to 33 feet, allowing seamless audio streaming from compatible devices. This advanced technology enhances connectivity and provides a reliable listening experience in various environments.
8.2 Battery Type and Charging Time
The Vivitar Bluetooth Speaker features a polymer lithium-ion battery, ensuring long-lasting performance. It typically requires 4-5 hours to fully charge, providing up to 12 hours of continuous playtime. The red charging indicator turns off once the battery is fully charged, indicating readiness for use. This efficient battery setup enhances your music experience.
8.3 Speaker Dimensions and Weight
The Vivitar Bluetooth Speaker is designed for portability, with compact dimensions and a lightweight build. Weighing approximately 3 pounds and measuring around 12 inches in height and 8 inches in width, it’s easy to carry and place anywhere. Its rounded edges and ergonomic design ensure a sleek, modern appearance while maintaining durability.
Warranty and Support Information
Your Vivitar Bluetooth Speaker is backed by a limited warranty covering manufacturing defects. For support, contact Vivitar’s customer service or visit their official website for repair center locations and assistance.
9.1 Warranty Coverage Details
The Vivitar Bluetooth Speaker is covered by a limited warranty for one year from the date of purchase. This warranty covers manufacturing defects in materials and workmanship. Damage caused by misuse, tampering, or normal wear and tear is not included. Keep your proof of purchase for warranty claims. For full details, visit the Vivitar support website.
9.2 Contacting Vivitar Support
For support, visit Vivitar’s official website. Use the provided email for inquiries, including your product model and issue details. The website also offers downloadable manuals, FAQs, and troubleshooting guides for common issues. Check the support page for the latest updates and assistance options.
9.3 Finding Repair Centers
Visit Vivitar’s official website to locate authorized repair centers near you. Use the support section to find a list of service providers. Contact Vivitar support directly for assistance in locating a repair center. Ensure to use only authorized centers to maintain warranty validity and ensure genuine repairs.
10.1 Final Tips for Optimal Use
10.2 Accessing Online Manuals and Guides
For additional support, visit Manuals.plus or ManualsLib to download the Vivitar Bluetooth Speaker manual. These platforms offer PDF guides, troubleshooting tips, and detailed instructions. Stay updated with the latest firmware and user guides to ensure optimal performance and resolve any issues quickly. Accessing these resources helps you make the most of your speaker.