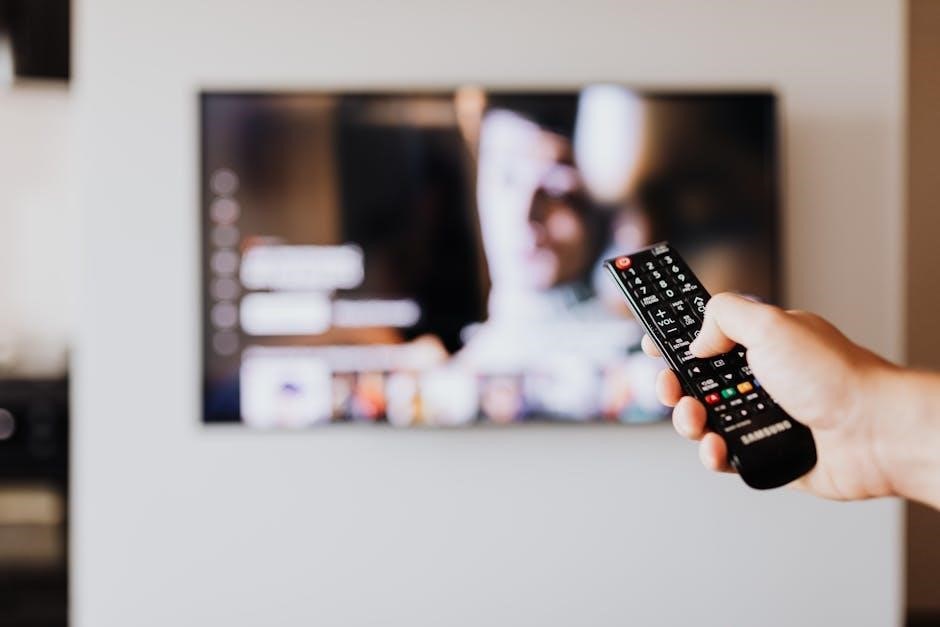
XBMC TV Guide is a versatile media center solution offering an enhanced viewing experience․ It supports live TV, PVR functionality, and customizable skins for personalization, making it a comprehensive tool for organizing and enjoying digital media seamlessly․

Installation and Setup on Different Devices
XBMC TV Guide can be installed on various devices, including Raspberry Pi, smart TVs, and Amazon Fire TV․ The process involves streamlined steps, ensuring compatibility and ease of setup across different platforms for optimal performance․
Installing XBMC on Raspberry Pi and Smart TVs
Installing XBMC on Raspberry Pi and Smart TVs is a straightforward process that unlocks a world of media streaming and organization․ For Raspberry Pi, users can install XBMC using the official XBian distribution, which simplifies the setup․ The process typically involves downloading the latest XBMC version, flashing the image to an SD card, and configuring the system to recognize media sources․ Smart TVs, on the other hand, may require additional steps depending on the manufacturer․ Some models support XBMC natively, while others may need workarounds like casting from a separate device or using third-party apps․ Ensuring proper network connectivity and device compatibility is crucial for a smooth setup․ Once installed, users can access live TV, movies, and music seamlessly․ Troubleshooting common issues like failed installations or connectivity problems often involves checking network settings or reinstalling the software․ The flexibility of XBMC makes it a popular choice for both DIY projects and smart home entertainment systems․

Configuring PVR and EPG for Live TV
Configuring PVR and EPG for live TV in XBMC TV Guide involves setting up a backend tuner and integrating an electronic program guide․ This allows users to schedule recordings, view channel lineups, and access program details seamlessly․
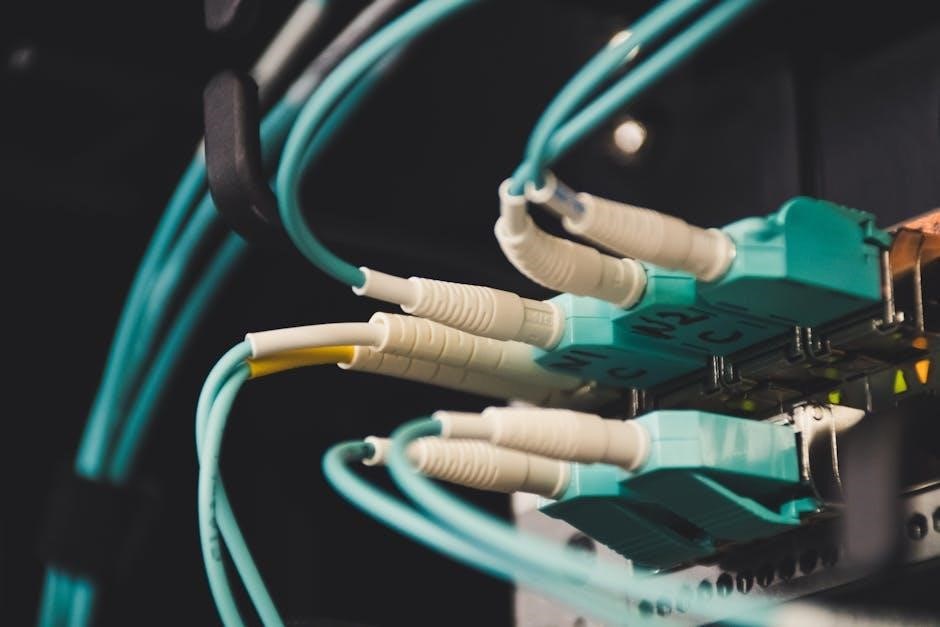
Setting Up TVHeadend and Other Tuners
Setting up TVHeadend and other tuners is essential for enabling live TV and PVR functionality in XBMC TV Guide․ TVHeadend acts as a backend server, managing tuner devices and streaming live TV channels over a network․ To begin, install and configure TVHeadend on a dedicated machine or directly on your media center․ Once installed, connect your tuner hardware, such as DVB-T or IPTV devices, to TVHeadend․ This allows it to detect and list available channels․
After configuring TVHeadend, integrate it with XBMC by specifying the tuner type and providing the server’s IP address․ This setup enables XBMC to access live TV channels and record shows using its PVR capabilities․ Other tuners, such as NextPVR or IPTV providers, can also be integrated, offering flexibility for different setups․ Ensure the EPG (Electronic Program Guide) data is properly mapped to channels for a seamless viewing experience․
By setting up TVHeadend and other tuners, users can enjoy live TV streaming, schedule recordings, and access program details directly within XBMC TV Guide, enhancing their media experience․
Customizing the TV Guide Experience
Customize your TV guide experience with skins, add-ons, and personalization options․ Users can modify layouts, colors, and themes to suit preferences․ Add-ons enable enhanced features like channel ordering and theme customization, improving the overall viewing experience․
Using Skins and Add-ons for Personalization
Personalizing your XBMC TV Guide experience is made easy with customizable skins and add-ons․ Skins allow users to change the appearance of the interface, from modern designs to retro themes, ensuring a tailored look․ Add-ons enhance functionality, offering features like custom channel ordering, favorite lists, and theme customization․
Popular skins such as “Confluence” and “Aeon Nox” provide sleek, user-friendly interfaces, while add-ons like “Skin Helper” enable advanced personalization․ These tools allow users to tweak colors, fonts, and layouts to match their preferences․ Additionally, add-ons can extend the TV guide’s capabilities, such as adding weather forecasts or social media integration․
Users can explore a wide range of skins and add-ons through XBMC’s official repository or third-party sources․ This flexibility ensures that the TV guide experience is unique to each user, blending aesthetics and functionality seamlessly․ Whether for visual appeal or practical enhancements, skins and add-ons make XBMC highly adaptable to individual needs․

Troubleshooting Common Issues
When using XBMC TV Guide, users may encounter issues such as channel scanning failures, EPG data not loading, or tuner configuration problems․ These issues often arise due to incorrect tuner settings or outdated software․ To resolve these, restart the PVR backend service and ensure the tuner is properly configured․ Additionally, check if the EPG source is active and verify internet connectivity for metadata fetching․
For channel-related problems, re-scan for channels in the TV guide settings․ If live TV fails to play, ensure the tuner is correctly connected and configured․ Clearing the cache or reinstalling the PVR add-on can also resolve unexpected errors․ Advanced users can enable debug logging to identify root causes of issues․ Regular software updates and proper device maintenance are key to avoiding common problems․
By following these steps, users can quickly troubleshoot and restore functionality, ensuring a smooth TV viewing experience with XBMC TV Guide․

Advanced Features for Power Users

Advanced Features for Power Users unlock customization potential․ Automation, custom scripts, and integration with media services enhance functionality․ These tools cater to enthusiasts seeking tailored media experiences on devices like Raspberry Pi․
Integration with Other Media Services
XBMC TV Guide seamlessly integrates with various media services, enhancing its functionality․ Users can connect to platforms like Netflix, Hulu, and other streaming services, expanding their content library․ The system also supports metadata management tools such as Media Center Master, ensuring a unified media experience across devices․ Additionally, integration with services like Trakt allows for syncing watch history and personalized recommendations․ This feature-rich ecosystem enables users to access a wide range of media content from multiple sources within a single interface, making it a versatile solution for modern entertainment needs․
XBMC TV Guide offers a powerful and versatile solution for managing and enjoying live TV and digital media․ Its ability to integrate with various devices and services makes it a comprehensive tool for modern entertainment needs․ By providing features like PVR functionality, customizable skins, and support for multiple tuners, XBMC TV Guide enhances the viewing experience․ The community-driven development ensures continuous updates and improvements, catering to both casual users and power users․ Whether you’re streaming content, organizing media libraries, or personalizing your setup, XBMC TV Guide delivers flexibility and convenience․ Its compatibility with devices like Raspberry Pi and smart TVs further solidifies its position as a go-to media center solution․ With its robust features and user-friendly interface, XBMC TV Guide remains a top choice for those seeking to elevate their home entertainment experience․