Your Crosley turntable manual provides essential guidance for setup, operation, and maintenance. It ensures optimal performance and safety, covering troubleshooting and care tips for longevity.

1.1 Overview of Crosley Turntable Models
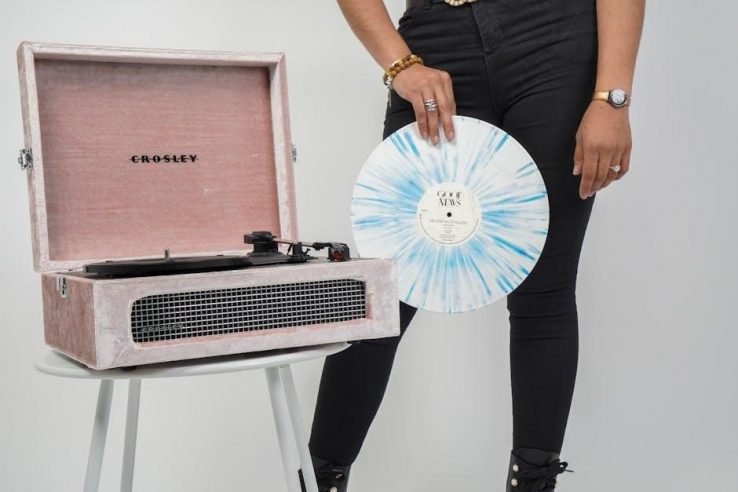
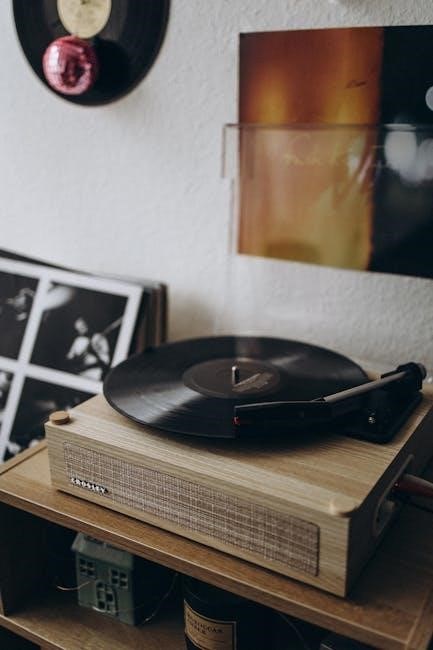
Crosley offers a wide range of turntable models, each designed to cater to different user preferences and needs. Popular models include the Crosley Voyager, Cruiser Plus, and Cruiser Deluxe, known for their portability and Bluetooth connectivity. The T400 and CR6007A models are favored for their advanced features and durability. These turntables often come with built-in speakers, USB connectivity, and compatibility with various record speeds. Whether you’re a casual listener or an audiophile, Crosley provides options to enhance your vinyl listening experience with quality and style.
1.2 Importance of Reading the Manual
Reading the Crosley turntable manual is crucial for safe and effective operation. It provides essential safety precautions, setup instructions, and troubleshooting tips to prevent damage and ensure optimal performance. The manual outlines proper care and maintenance routines, helping to extend the lifespan of your turntable. Additionally, it covers warranty information and customer support options. By understanding the manual, you can maximize your listening experience and resolve common issues efficiently. Always refer to the manual before attempting any adjustments or repairs to avoid potential risks and maintain your turntable’s quality.

Safety Precautions and Setup
Ensure safe setup by following manual guidelines. Unpack carefully, place on a stable surface, and power on correctly. Avoid water exposure and follow all safety instructions.
2.1 Unpacking and Accessories
When unpacking your Crosley turntable, carefully remove all components from the box. Typically included are the turntable unit, power adapter, 45 RPM adapter, slip mat, tonearm counterweight, and user manual. Ensure all accessories are accounted for to ensure proper setup. If any items are missing, contact Crosley customer service immediately. Retain the original packaging for potential future use or return. The manual provides detailed instructions for each accessory, ensuring you understand their purpose and proper use. This step is crucial for a smooth and enjoyable setup process.
2.2 Placing the Turntable
Place your Crosley turntable on a flat, stable surface, away from direct sunlight and moisture. Ensure the surface is level to prevent vibration and ensure proper operation. Avoid placing the turntable near water or in humid environments, as this may damage the components. For optimal performance, position the turntable on a firm, vibration-free surface. Use the adjustable feet if necessary to level the unit. Keep it away from speakers to avoid feedback. Proper placement ensures smooth operation and protects your turntable from potential damage;
2.3 Powering On the Turntable
To power on your Crosley turntable, locate the power button, typically found on the front panel. Press it to turn the unit on. Ensure the power cord is securely plugged into both the turntable and a nearby electrical outlet. Always use the correct voltage as specified in the manual to avoid damage. Before powering on, double-check that all components are properly connected. If the power cord does not fit the outlet, replace it with one that matches. Refer to the manual for guidance on proper electrical connections and safety precautions to ensure safe and efficient operation.

Operating the Crosley Turntable
Operating your Crosley turntable involves using basic controls like the power button, speed switch, and cue lever. Place the record, set the speed, and enjoy your music seamlessly.
3.1 Basic Controls and Functions
Understanding the basic controls of your Crosley turntable is essential for smooth operation. Key components include the power button, function switch, and speed control. The power button turns the unit on/off, while the function switch selects modes like phono or aux. The speed control allows you to choose between 33, 45, or 78 RPM. Additionally, the cue lever helps lift and lower the tonearm gently. Familiarize yourself with these functions to play records effectively and maintain optimal performance. Refer to your manual for detailed guidance on each control’s operation and settings.
3.2 Playing Records: Step-by-Step Guide
Start by powering on the turntable using the power button. Next, slide the function switch to the PHONO mode. Select the appropriate speed (33, 45, or 78 RPM) using the speed control switch. Place the record on the turntable, ensuring it is centered and secure. Use the cue lever to gently lower the tonearm onto the record’s edge. Once the needle drops, the music will play. After the record finishes, lift the tonearm and return it to its rest position. Adjust the volume on your connected speaker or amplifier for optimal sound quality.

3.3 Adjusting Speed Settings
Adjust the turntable’s speed to match your record’s RPM. For most albums, use 33 RPM, while singles typically require 45 RPM. Locate the speed control switch, usually found near the tonearm or on the rear panel. Move the switch to the desired setting. Ensure the record is properly placed and the tonearm is balanced. If your model has an anti-skate feature, adjust it to prevent the needle from sliding. Proper speed adjustment ensures accurate playback and protects your records from damage. Refer to the manual for specific instructions on advanced speed calibration for optimal performance.
Maintenance and Care
Regularly clean the turntable and stylus to ensure optimal performance. Use a carbon fiber brush to remove dust and debris. Avoid harsh chemicals and replace the stylus every 500 hours for best sound quality.
4.1 Cleaning the Turntable and Stylus
To maintain your Crosley turntable’s performance, clean the platter with a soft, dry cloth. For more thorough cleaning, use a gentle cleaning solution. Avoid harsh chemicals. Gently wipe the stylus with a carbon fiber brush to remove dust. Regular cleaning prevents dust buildup and ensures optimal sound quality. Ensure the turntable is dry to prevent damage to electrical components. Cleaning the stylus regularly helps maintain clear audio and prevents skipping. Use a cleaning solution specifically designed for styli if necessary. Keep the turntable mat clean to reduce static and ensure records play smoothly.
4.2 Troubleshooting Common Issues
If the needle slides across the record, ensure the red plastic needle wasn’t removed. Check for proper tracking force and clean the stylus. For power issues, verify the turntable is plugged in and the power switch is on. If the turntable won’t spin, inspect the belt or motor. Uneven rotation may indicate a faulty motor or incorrect mat placement. For skipping records, clean the stylus and ensure the record is flat. Refer to the manual for specific solutions to maintain optimal performance and resolve common problems effectively.

Accessories and Upgrades
Explore Crosley turntable accessories, including compatible needles, cartridges, and mats. Upgrades like improved cartridges can enhance sound quality and performance for a better listening experience.
5.1 Compatible Needles and Cartridges
Ensure optimal performance by using compatible needles and cartridges for your Crosley turntable. Models like the Crosley Cruiser Plus CR8005F often use the NP5 needle. Always check compatibility to maintain sound quality. Proper installation prevents damage to the stylus or cartridge. Refer to your manual for specific recommendations. Upgrading to higher-quality cartridges can enhance audio performance. Avoid using incorrect parts, as they may harm your turntable. For detailed compatibility, visit Crosley’s official support or consult the user manual for your specific model.
5.2 Upgrading the Turntable
Upgrading your Crosley turntable can enhance its performance and sound quality. Common upgrades include replacing the cartridge, improving the tonearm, or enhancing the platter. Ensure compatibility with your model, as incorrect upgrades can damage the unit. Always follow the manual’s guidelines for safe installation. For advanced upgrades, consult Crosley’s official support or trusted audio specialists. Regular maintenance and proper care ensure your turntable operates at its best for years to come.
Specific Model Instructions
This section provides detailed setup guides for popular Crosley models like CR6007A and CR8050A, covering troubleshooting, advanced features, and model-specific maintenance tips for optimal performance.
6.1 Crosley CR6007A Turntable Setup
Setting up the Crosley CR6007A turntable involves carefully unpacking and connecting components. Place the turntable on a flat, stable surface. Connect the power cord and ensure all accessories, like the remote control, are included. Press the POWER BUTTON to turn it on, then use the FUNCTION SWITCH to select PHONO mode. Adjust the SPEED CONTROL SWITCH to the desired RPM (33-1/3, 45, or 78). Use the CUE LEVER to gently lower the tonearm onto the record. Ensure proper needle alignment and refer to the manual for troubleshooting. Retain the manual for future reference and contact Crosley customer service if any parts are missing.
6.2 Crosley CR6007A Advanced Features
The Crosley CR6007A turntable is equipped with advanced features for enhanced performance. It offers three-speed playback (33-1/3, 45, and 78 RPM) and includes a USB connection for digitizing records. The built-in phono preamp allows direct connection to speakers or sound systems. Additional features include a remote control, pitch control, and a high-quality cartridge for precise sound reproduction. The turntable also supports external speakers and is designed for both vinyl enthusiasts and modern listeners. Its sleek design and robust construction ensure durability and long-term performance, making it a versatile choice for any music lover.
Frequently Asked Questions
Why does the needle slide across the record? Ensure the red plastic needle wasn’t removed when the protective cover was taken off, as this can cause improper tracking.
7.1 Why Does the Needle Slide Across the Record?
The needle sliding across the record can occur due to improper tracking force or anti-skate settings. Ensure the red plastic needle was not removed when taking off the protective cover, as this can cause improper tracking. Check if the tracking force is set too light or if the anti-skate mechanism is unbalanced, causing the tonearm to drift. Additionally, verify that the turntable is placed on a level surface and free from dust or debris. Cleaning the stylus and ensuring proper record placement can also resolve this issue. If the problem persists, consider replacing the needle or consulting the manual for further troubleshooting steps.
7.2 How to Replace the Stylus
To replace the stylus on your Crosley turntable, first ensure the unit is powered off and unplugged. Locate the stylus, typically attached to the tonearm. Gently remove the old stylus by pulling it away from the cartridge. Install the new stylus, ensuring it aligns properly and clicks into place. Handle the stylus by the body, not the tip, to avoid damage. Finally, test the turntable by playing a record to ensure proper function. If unsure, consult the manual or contact Crosley customer service for assistance.
Thank you for purchasing a Crosley turntable. By following the manual, you ensure optimal performance and longevity of your device. Proper setup, operation, and maintenance are key to enjoying your vinyl collection. If issues arise, refer to the troubleshooting section or contact Crosley customer service. With care and attention, your turntable will provide years of satisfaction. Explore the world of vinyl and enjoy the rich, authentic sound your Crosley turntable delivers. Happy listening!